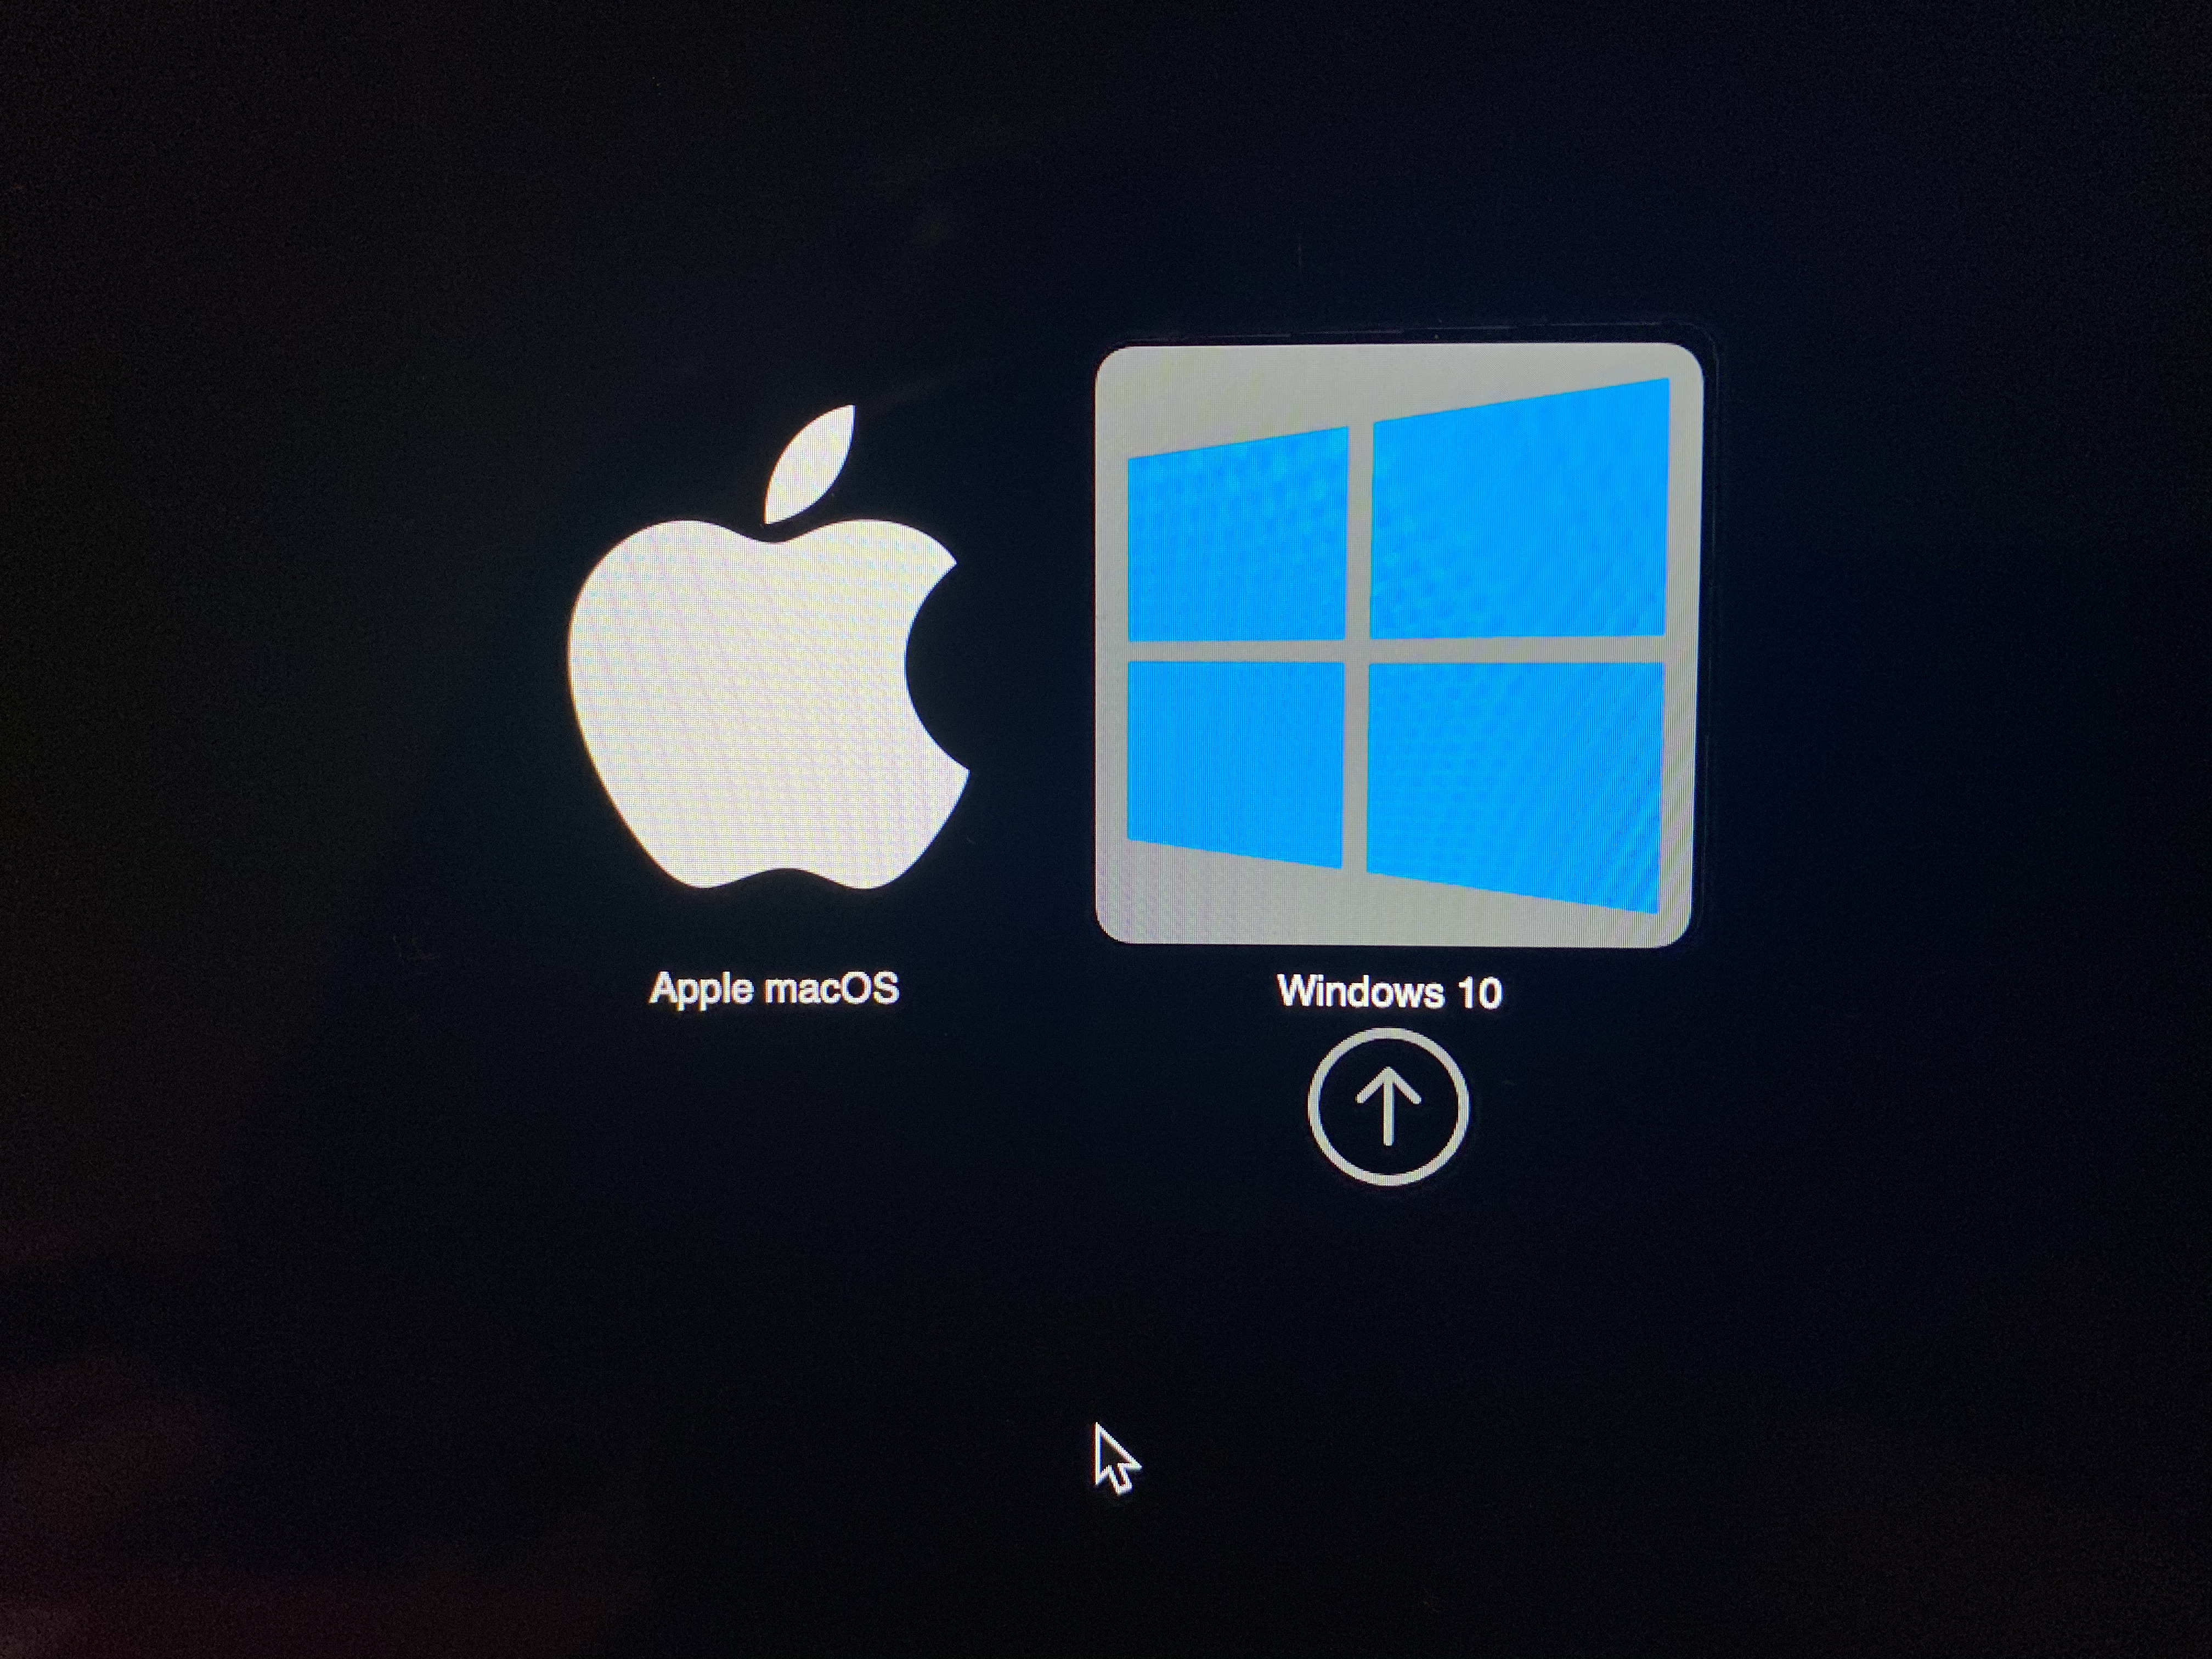
After successfully running Windows on an external SSD from my Mac, I’d now like to hide the Windows Partition from macOS, and I’d like to change label name and looks on the two boot icons. This can be fixed with a simple script to create the .icns icons, and a couple of commands to edit the label.
Big Sur 11.3 seems to have broken support for custom boot icons. I will update with a solution once it’s out.
To begin with, you will need some icons for your boot partitions. I’ve provided some .icns files you can use, or alternatively a script which you can use to create your own .icns icons from PNG files. I’m also adding the full script here so you can copy/paste if you don’t trust script downloads (which you shouldn’t).
Here are the PNG files I’m basing it on. I’ve added Catalina, Big Sur and the most recent Monterey logos:

Catalina 
Big Sur 
Monterey 
Windows 10 
PS – This is the Apple Logo, it’s all white and might be invisible against the background

If you don’t want to make your own, you can download the icns files here. You won’t need the script if you’re not creating your own icons from PNG:
MakeICNS.sh (script)
I got the script from Stack Exchange, so I take no credit for it, but I can confirm it works perfectly. If you want to create it yourself, open Terminal, and when in the directory you want the script, write “nano MakeICNS.sh” and click enter, then paste the script from here, and save it. Run the command “chmod +x MakeICNS.sh” to make it executable, and then run it with “./MakeICNS.sh <png-file>”
Example:
./MakeICNS.sh windows.pngHere’s the script from Stack Exchange:
#!/bin/bash
#
#
if [[ $0 != "$BASH_SOURCE" ]]; then
    bash "$BASH_SOURCE" "$@"
    return
fi

Convert() {
    local -i "n=${1%%x*}"
    [[ $1 != *@2x ]] || n="2*n"
    sips -s format png -z "$n" "$n" "$full" --out "$name.iconset/icon_$1.png"
}

Main() {
    local "full=$1"
    local "base=$(basename "$full")"
    local "name=${base%.*}"
    rm -rf "$name.iconset"
    mkdir "$name.iconset"
    Convert "16x16"
    Convert "16x16@2x"
    Convert "32x32"
    Convert "32x32@2x"
    Convert "128x128"
    Convert "128x128@2x"
    Convert "256x256"
    Convert "256x256@2x"
    Convert "512x512"
    Convert "512x512@2x"
    iconutil -c icns "$name.iconset"
    rm -r "$name.iconset"
}
set -u
Main "$@"
Now, when you have your Windows 10 icns-file, you’re ready to apply it to your boot partition, and change its name. As you might already know, the “Windows 10” partition isn’t your boot partition, it’s what your Mac calls “EFI boot”. We need to mount this hidden partition and do a couple of changes.
Open Terminal and issue the following command:
diskutil listFind the Windows drive either by drive size, and/or the names. You’ll f.ex. see “Microsoft Reserved” as a partition etc. Note the “/dev/diskX” identifier for the drive with those partitions. There should be one called “EFI NO NAME” or similar. Take a look at the identifier at the end, in my case it is /dev/disk2 and the identifier for the EFI partition is “/dev/disk2s1”. I need to mount this partition:
sudo diskutil mount disk2s1I’m assuming yours is also called “NO NAME”, if not, correct it so it corresponds to your volume name, and write this inn Terminal, where “NO\ NAME” is the volume and “Windows 10” is whatever you want to call the Windows partition:
bless --folder /Volumes/NO\ NAME/EFI/Boot/ --label "Windows 10"You won’t see anything different, but it’ll create a couple of hidden files.
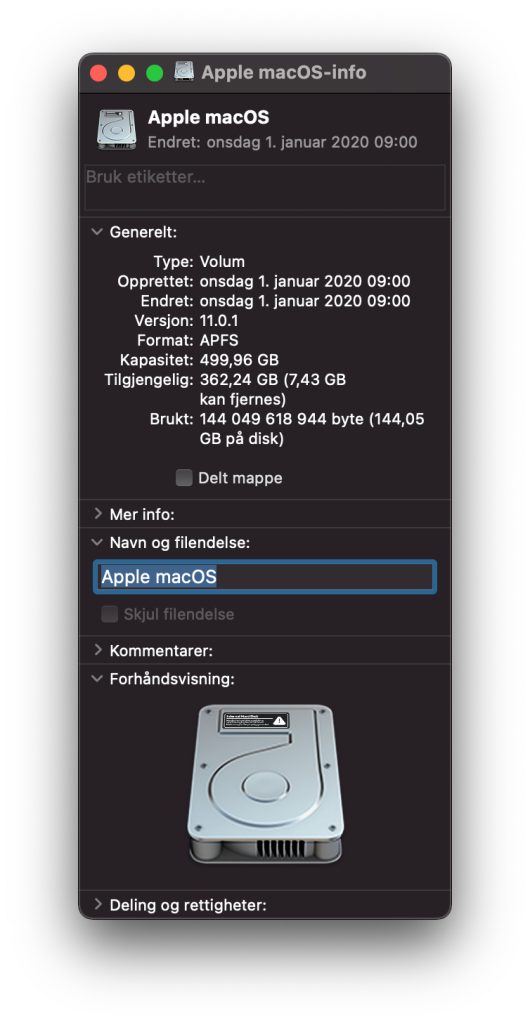
Now, you probably have “NO NAME” mounted on your desktop, right-click and click “Get Info”. Drag and drop your Windows icns file to the small icon for the drive, and it’ll update to your preferred logo. It will still say “NO NAME” here, but the boot label should be changed now.


Finish by unmounting the partition:
diskutil unmount disk2s1Note: The following might not work as intended on Big Sur, if you experience issues, please read on for a workaround.
As my Windows boot option now looks much prettier, I wanted to do the same for macOS.

My volume is called “Apple macOS”, your drive probably says “Macintosh HD”, but I named mine “Apple macOS” when I reinstalled Big Sur.
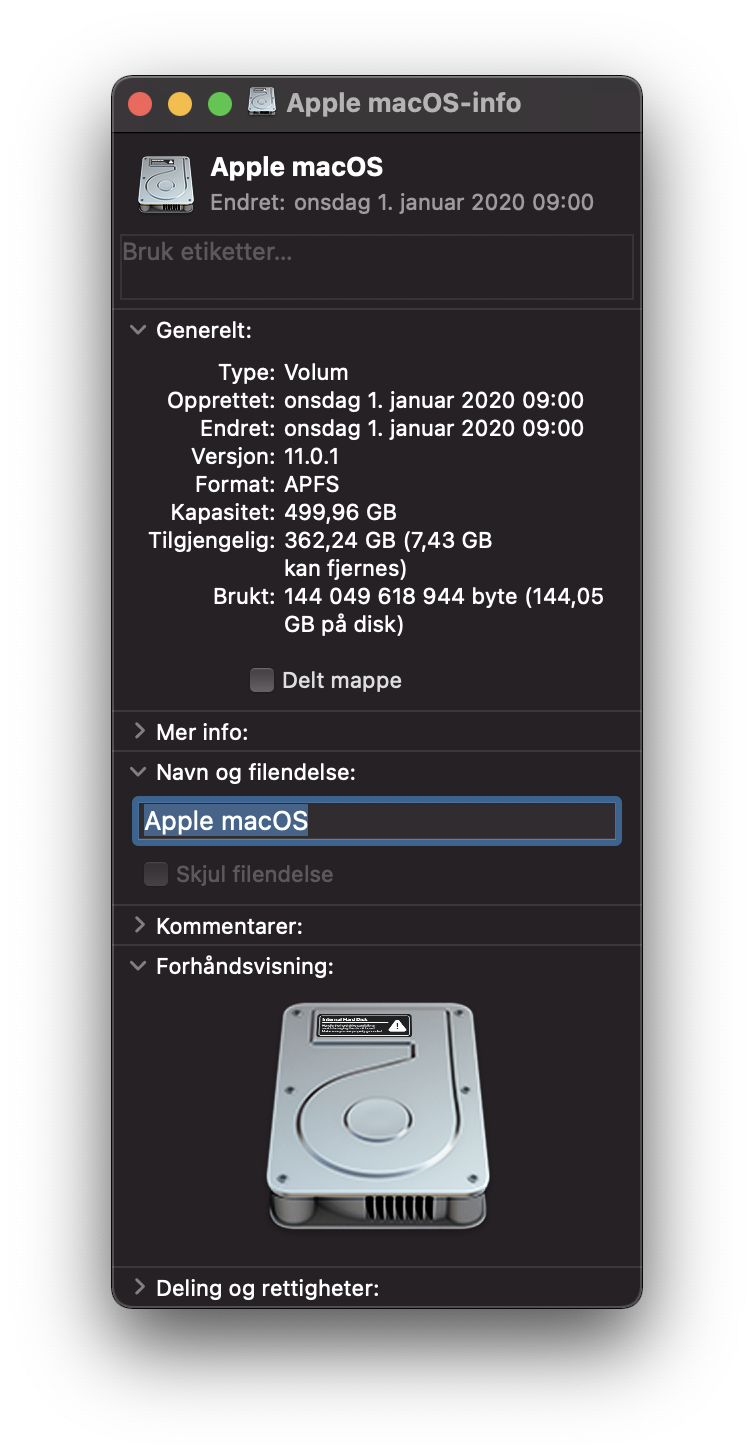
You can change the name under “Name and Extension” if you want, but note that this does not reflect the label for the boot option, I’ll show you how to do that later.
So to begin with I added a Big Sur logo to the drive. Still, this change is only reflected while at desktop, not at boot. I still think it is worth it rather than seeing an icon of hardware.

Now over to actually changing the boot logo and label. This procedure is similar to what we already did to Windows. Let’s start with the icns logo. I’ll choose my “Apple” logo for this one rather than Big Sur. macOS like Windows does have its own partition for booting, so we need to find and mount it. Again from Terminal, issue this command:
diskutil listIn most cases with APFS it will be “/dev/disk1”. You’re looking for a disk that says “(synthesized)” which contains a partition named “APFS Volume Preboot”. For me that was “disk1s2”. Let’s mount it:
sudo diskutil mount disk1s2We now need to copy the icns file through Terminal. Mine are located under Documents/iMac/Logo, so I’m issuing this command:
cp /Users/glenn/Documents/iMac/Logo/AppleIcon.icns /Volumes/Preboot/.VolumeIcon.icnsI mentioned that the changes to name done in Finder doesn’t reflect the partition label in the boot loader. I found help on Reddit; To change this, you need to issue this command, where “Apple\ macOS” is your current system volume name (typically “Macintosh HD”) and “macOS” is the new label you want:
bless --folder /Volumes/Apple\ macOS/System/Library/CoreServices --label "macOS"This should change your partitions label in the boot loader.
Big Sur workaround
I wasn’t able to navigate the Preboot volume under Big Sur, even though it seemingly did mount. I couldn’t unmount it either, so something seems to be off with the initial Big Sur release. To mitigate this issue I rebooted my Mac, started it with “CMD+R” for Recovery Mode, and then opened the Terminal from the Recovery Mode menu bar.
I started with “diskutil list” so I could see all drives. They are listed differently than when booted to desktop. The recovery partition has it’s own “Preboot”, so be aware of that.

My primary drive was disk2, so I issued this command:
diskutil mount disk2s2Preboot was properly mounted under “/Volumes” and I could navigate it if wanted. The next step was to mount my macOS – data partition. It is encrypted, so I needed to use a slightly different command:
diskutil apfs unlockVolume disk2s1Again, use “diskutil list” to verify the names of your partitions.
From here I could cd to the macOS Volume (note that yours is probably named “Macintosh HD”), and then copy the file from the mounted partition to Preboot:
cd /Volumes/Apple\ macOS - data

cp /Users/glenn/Documents/iMac/Logo/AppleIcon.icns /Volumes/Preboot/.VolumeIcon.icns
This worked without any issues, and at next reboot I could see my newly created Apple Icon. Note that this does not modify the one you’ve set in Finder, these are two different icons.
In regards to changing the label through Recovery Mode, I have not tested this yet, as I’m happy with the name I’ve chosen during install (Apple macOS) and I didn’t want to risk messing up anything. I’m sure Apple will correct these issues in an upcoming patch, and you should be able to issue the command as shown further back.
Hiding the Windows partition from your macOS desktop.
I don’t need to see my Windows 10 partition while booted in macOS, so I don’t want macOS to mount it. This is relatively simple to do. Open Disk Utility, choose the Windows partition and click CMD+i.
Copy out the UUID and paste into TextEdit, then copy out just the actual UUID-numbers, not the title in front of it.
Go to Terminal and write the following:
sudo nano /etc/fstabIf you haven’t done this before, it will create an empty file for you. Paste in the following command, replacing UUID with yours (ntfs = filesystem, ro = read only, noauto = do not mount automatically):
UUID=00000000-0000-0000-0000-000000000000 none ntfs ro,noautoThen click ctrl+X and save. On the next boot, your partition should not be visible. If you have multiple partitions to hide, just add a new line to fstab with the next UUID.
This concludes my current “mods” to my dual-boot setup. I’m pleased with it being relatively simple, and not having to disable SIP (System Integrity Protection) or similar, which you should definitely never do.
Please leave a comment if this helped you, or if you have any questions!


Pingback: “Boot Camp”: Running Windows 10 on an external SSD from your Mac – A full Guide! | DIYglenn - Learning by doing
Hello! Thanks for write up, did you figure out how to fix Big Sur 11.3 broken .VolumeIcon.icns support? I cannot update from 11.3.1 (job app compatibility issue) and I’m having a hard time with my Boot Camp partition’s custom icon, tried placing .VolumeIcon.icns in every folder of /Volumes/EFI/ (i.e. root, /Volumes/EFI/EFI/, etc.) – no luck! Maybe I’m missing something?
Hi! I’m pretty sure this was only in a few versions of Big Sur. I’m currently on Monterey and haven’t had the issue again.
I didn’t make any additional attempts to restore the icons, they were just back again.
Thanks for response, DIY_glenn! Yes, according to my research, it’s happening with macOS 11.3-11.6.2 (according to this article, EFI was updated only in 11.6.3 along with 12.2 EFI update and both OS updates provide same EFI for all T2-based Macs – https://eclecticlight.co/2020/11/16/which-firmware-should-your-mac-be-using-version-5/). Would you kindly clarify if you happen to use T2-base Mac? If yes, what’s your current EFI (Boot ROM) version, you can get it with command “system_profiler SPHardwareDataType”
Hi,
Can I ise thisethod for High Sierra (10.13.6) MacBook Pro Mid 2012?
I haven’t tested it, but I can’t see any reason for it not working 👍